Between endless emails, lengthy reports, and that ever-growing “must-read” list, it often feels like there just aren’t enough hours in the day. What if you could listen to your reading list instead, transforming downtime into learning time? That’s exactly what Speechify enables you to do.
In this practical guide, you’ll learn how to use Speechify—an innovative AI text-to-speech tool that turns written content into natural-sounding audio. Whether you’re a student, professional, or content creator, this tool can help you absorb information faster and more efficiently. Ready to give your eyes a break and your productivity a boost? Let’s dive in.
What is Speechify?
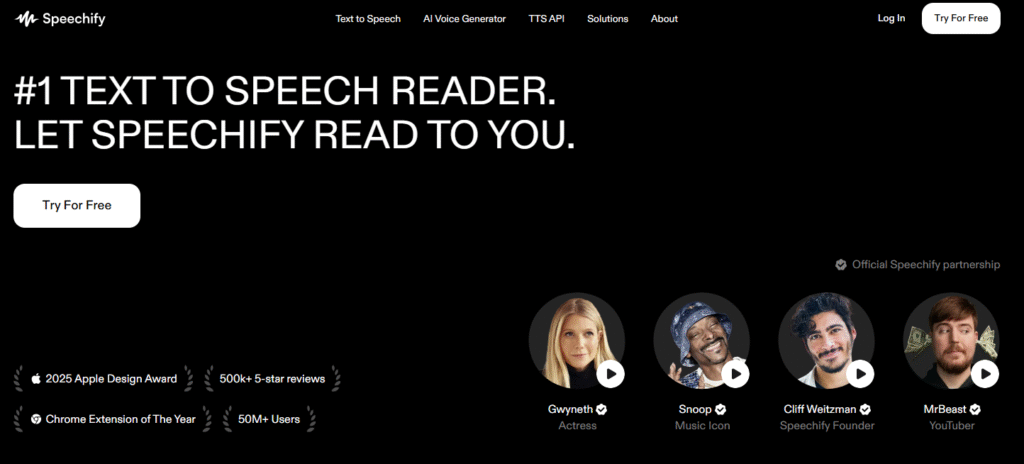
If you think Speechify is just another text-to-speech app, think again. While it does convert text into spoken words, it does so with a game-changing level of quality and flexibility. Powered by advanced AI, Speechify delivers voices that sound remarkably human—far from the robotic tones we’ve all come to expect from older TTS technologies.

But what really sets Speechify apart is its versatility. It’s available as a mobile app for iOS and Android, as well as a Chrome extension for your browser. That means you can listen to articles, documents, emails, or web pages whether you’re at your desk, commuting, or working out. You can even adjust the reading speed and choose from a wide selection of voices and accents to match your listening preference.
Speechify is more than a tool—it’s a personalized listening experience designed to help people read more with less effort. It’s especially helpful for those with dyslexia, ADHD, or visual impairments, though anyone looking to optimize their time can benefit.
For more detailed information, read our post on Speechify Reviews.
How to Use Speechify: Step-by-Step
Getting started with Speechify is straightforward. Whether you’re using the desktop version or the mobile app, the process is intuitive. Follow these steps to turn your text into clear, expressive audio in no time.
Step 1: Visit the Speechify Website
Your journey begins at the official Speechify website. Once you’re on the homepage, look for the “Log in” button, typically located in the top-right corner. Give it a click, and you’re one step closer to your audio masterpiece.
Step 2: Log In to Your Account

Next, you’ll be prompted to log in. You can enter your email and password, or, for maximum convenience, you can choose to log in with your Google, Facebook, or Apple account. If you’re new to the platform, don’t sweat it—you can easily create a new account right from this page to unlock all of Speechify’s powerful features.
Step 3: Start a New Voiceover Project
After you’ve successfully logged in, you’ll find yourself on your personalized dashboard. Look for the prominent “New” button on the left-hand side of the screen. A dropdown menu will appear; select “AI Voice Over” to kick off your new project. This is the blank canvas where your creative magic will happen.
Step 4: Choose How to Add Your Text
Now, it’s time to provide Speechify with the text you want it to read. You’ve got a couple of user-friendly options:
- The Classic Copy-Paste: Click directly into the main text box and either type out your script or, more likely, paste it in from another source. This is the fastest way to get started with a short script or article snippet.
- The File Import: For longer documents, or if you prefer to work with existing files, look for the “Import” button on the left side of the screen. Speechify supports a wide range of file types, including .txt, .docx, .srt, .vtt, .ppt, and .pptx. Just click, upload, and the AI will handle the rest.
Step 5: Pick a Voice

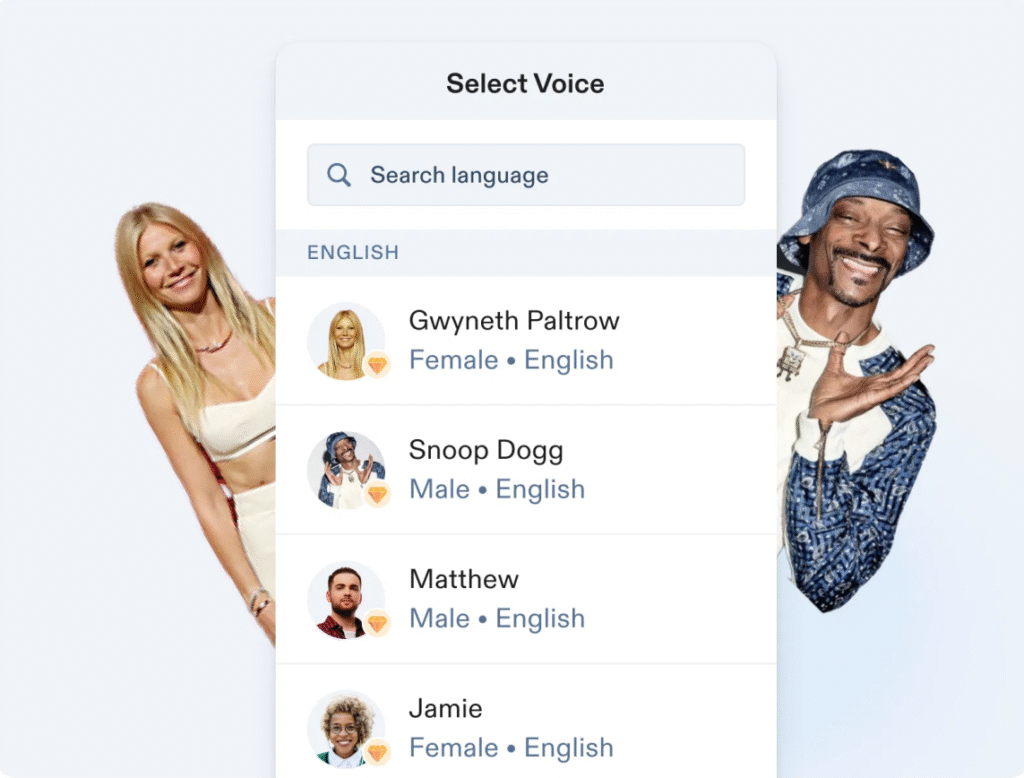
This is where the fun begins. Navigate to the “Voiceover” section on your dashboard. Here, you can browse Speechify’s extensive library of AI voices. Take your time and explore the various options.
They range from smooth and professional to energetic and casual. Listen to a few samples to find a voice that perfectly matches the tone and style of your content. Whether you’re creating a corporate presentation or a fun social media video, there’s a voice for every purpose.
Step 6: Adjust Voice Settings
Once you’ve found a voice you love, it’s time to fine-tune it to perfection. In the “Edit Voice Over” section, you can play around with key settings like speed, pitch, and volume. These controls are your secret weapons for making the audio sound less like a machine and more like a real person. You can find these options in the left panel under the “Voice” section.
For instance, slightly lowering the pitch can make a voice sound more grounded and realistic, while adjusting the speed can help it match the natural cadence of human speech.
Step 7: Preview and Fine-tune Your Audio
Don’t just take my word for it. After you’ve made your adjustments, hit the play button to listen to a preview of your script. This is your chance to hear how the voice sounds with your chosen settings.
Does it flow smoothly? Does it sound natural? This is the time to make any necessary tweaks. Maybe the pace is a bit too fast, or the pitch could be a tad lower. Adjust the speed, pitch, and volume as needed until you’re completely satisfied with the result.
Step 8: Export Your Voiceover
You’ve done it! Once you’re thrilled with your voiceover, simply click the “Export” button in the top-right corner of the screen. You’ll be given options to choose your preferred format, such as MP3. Speechify will then work its magic, generating the final audio file for you to download directly or receive via email.
Tips for Getting the Most Out of Speechify AI
To truly maximize Speechify, keep these tips in mind:
Experiment with Speeds
If you’re new to audio listening, start at a moderate speed. As you get used to it, gradually increase the pace. Many users find they can comfortably listen at 1.5x or even 2x the normal speed, saving valuable time.
Use High-Quality Content
The better written and structured your original text is, the more natural the audio output will sound. Break up long paragraphs and avoid complex sentence structures to help the AI deliver clearer narration.
Leverage the Mobile App
Don’t limit yourself to desktop use. With the Speechify app, you can listen on the go—whether you’re driving, exercising, or doing chores. It’s a great way to make idle time productive.
Combine with Other Tools
Speechify integrates with cloud storage like Google Drive and Dropbox, making it easy to access your documents across devices. Use these integrations to create a seamless workflow from reading to listening.
Benefits of Using Speechify
Wondering what makes Speechify so popular? Here are some of the key benefits:
Accessibility
Speechify isn’t just for productivity—it’s a powerful tool for inclusivity. It helps individuals with reading difficulties, visual impairments, or learning disabilities access written content with ease.
Efficiency
By converting reading to listening, you can multitask effectively. Catch up on news while cooking, review reports during a walk, or “read” a book while driving.
Improved Comprehension
For many, listening improves retention and understanding. Speechify’s expressive narration can help you grasp nuances that your eyes might skip when reading.
Content Creation Advantage
If you’re a content creator, Speechify can serve as an affordable voiceover generator. Produce audio versions of your blog posts or narrate videos without hiring a voice actor.
Conclusion on How to Use Speechify
Learning how to use Speechify can fundamentally improve how you consume information. It’s more than a convenience—it’s a tool that supports accessibility, enhances productivity, and fits effortlessly into a modern, fast-paced lifestyle.
Whether you want to keep up with your reading list, create audio content, or simply give your eyes a rest, Speechify offers a practical and powerful solution. Try it today and experience how AI-powered audio can transform your daily routine.


